This document provides step-by-step instructions on how to update specific task details, activity, attached documents, and time logs on the Taskistic platform.
Step 1: Access the Taskistic Platform
Open your web browser.
Visit the Taskistic platform by navigating to https://yourdomain.taskistic.com
Step 2: Navigate to the My Workspace Section
Once you have logged in, look at the left sidebar of the Taskistic dashboard.
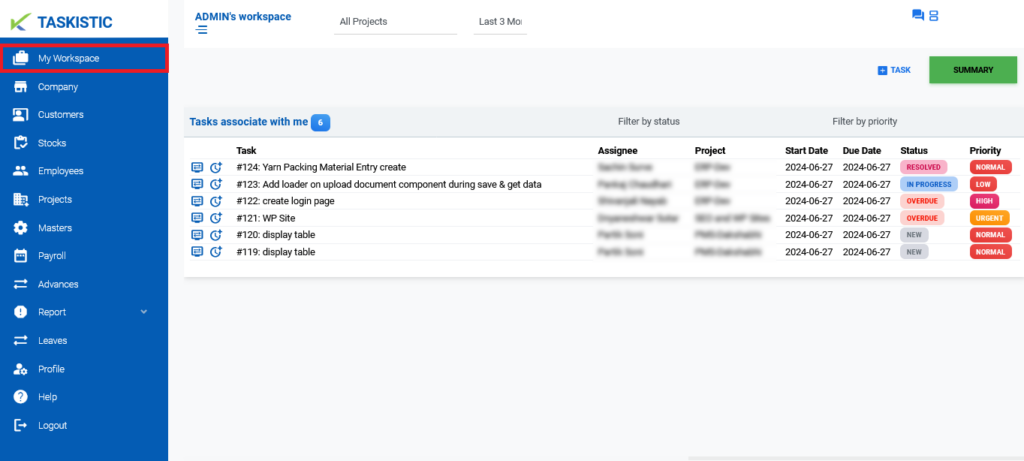
Click on the “My Workspace” tab to access your workspace.
The “My Workspace” dashboard will be displayed.
Step 3: View Tasks Associated with You
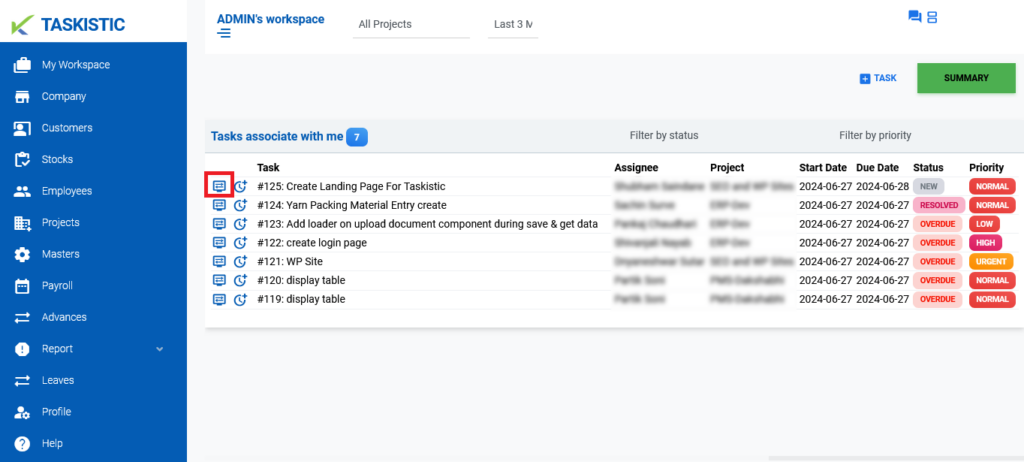
In the “Tasks associate with me” section, click on the “Blue Monitor Icon” tab to enter the “Tasks View Dashboard“.
Step 4: Explore the Tasks View Dashboard
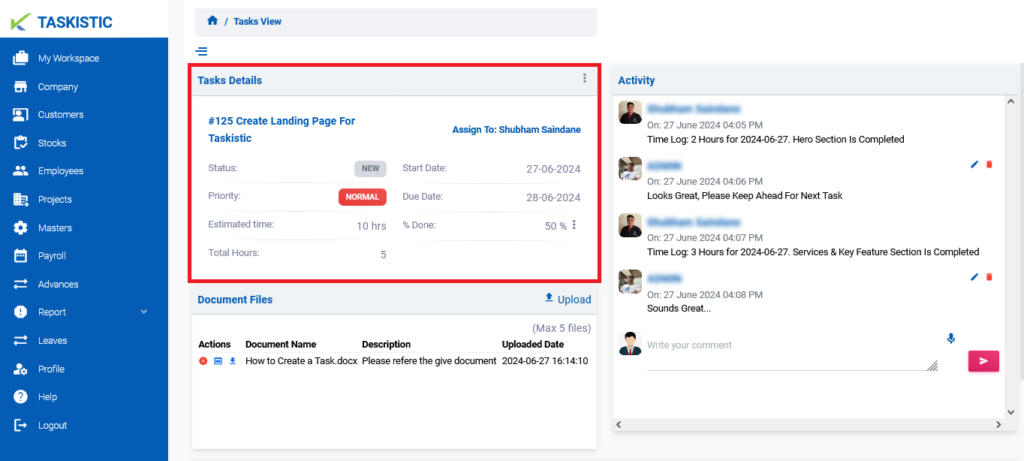
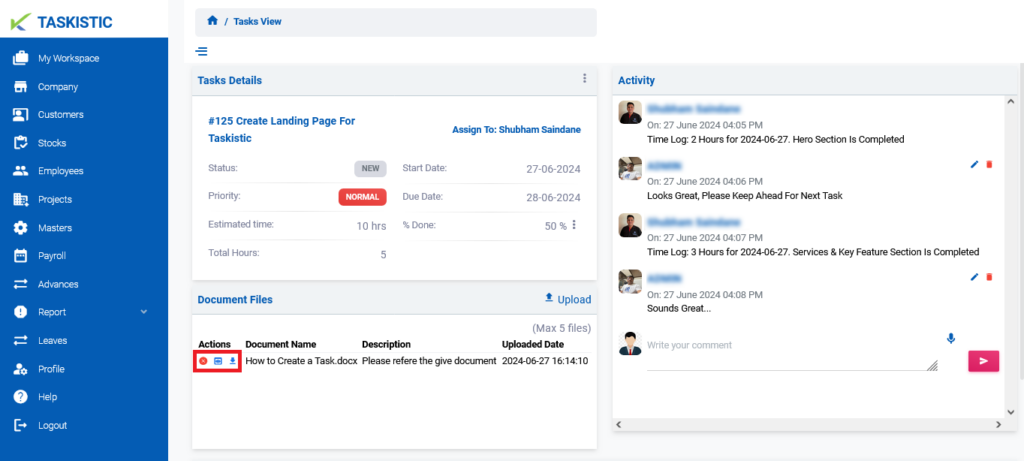
The Tasks View Dashboard has four sections: Task Details, Activity, Document Files, and Time Log.
Section 1: Task Details
In the “Task Details” section, you can view details like Task Name, Assignee, Status, Priority, Estimated Time, Total Hours, Start Date, Due Date, and % Done.
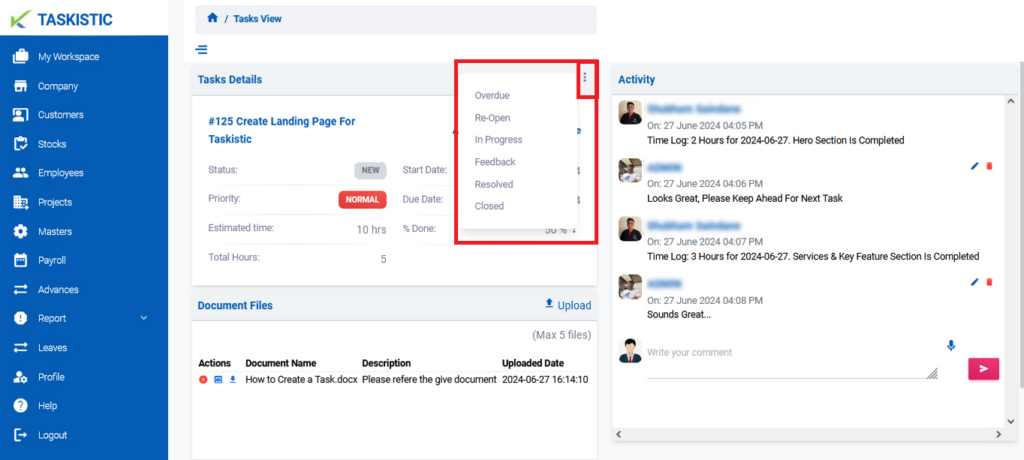
To change the status (e.g., Overdue, Re-Open, In Progress, Closed), use the 3 dots options on the right side of the “Task Details” title.
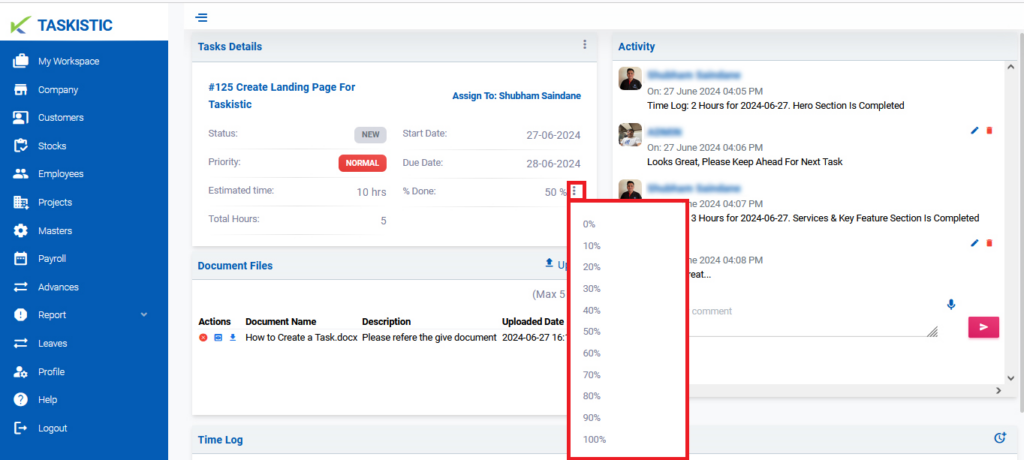
To change the completion percentage (e.g., 10%, 20% to 100%), use the 3 dots options on the right side of the “% Done” title.
Section 2: Document Files
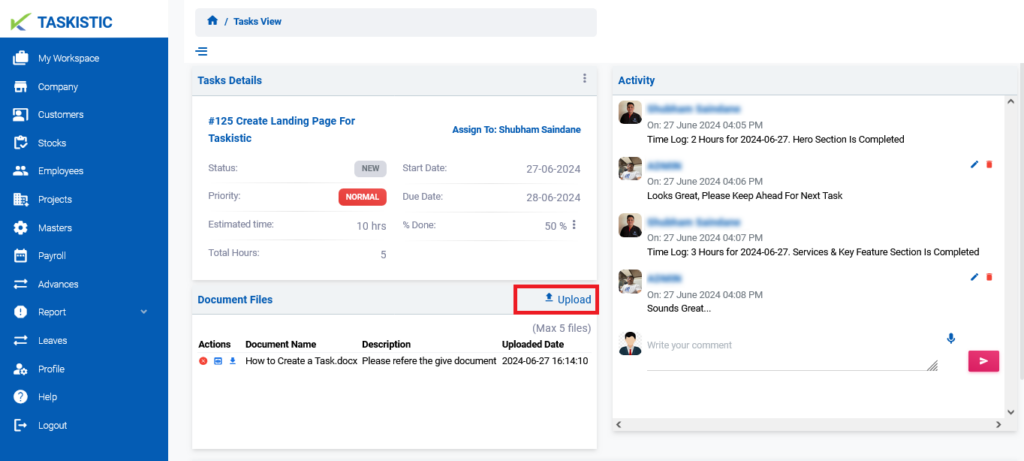
Click on the “Blue Upload Icon” to attach documents to the task (Max 5 files).
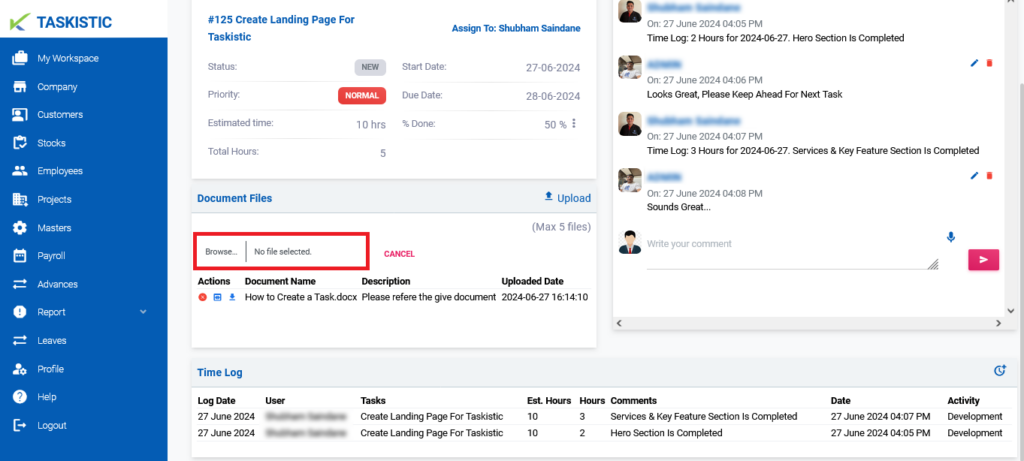
A “Choose File | No File Chosen” tab will appear. Click on it to upload a file and wait for a few seconds.
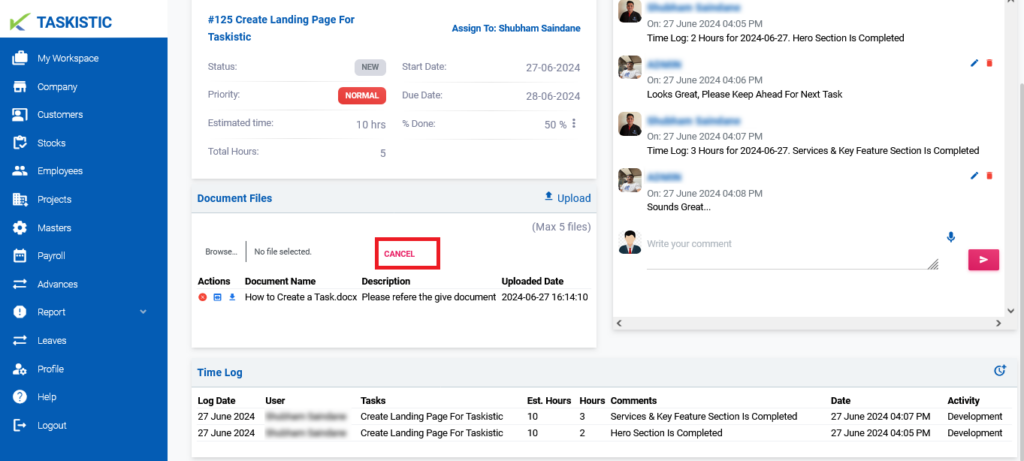
To cancel the operation, use the “Red Cancel” tab.
After uploading, you will see a new section below with three icons for each file:
– “Red Cross Icon” to delete the file.
– “Blue Eye Monitor Icon” to view the file.
– “Blue Down Arrow Icon” to download the file, along with the Document Name, Description, and Uploaded Date.
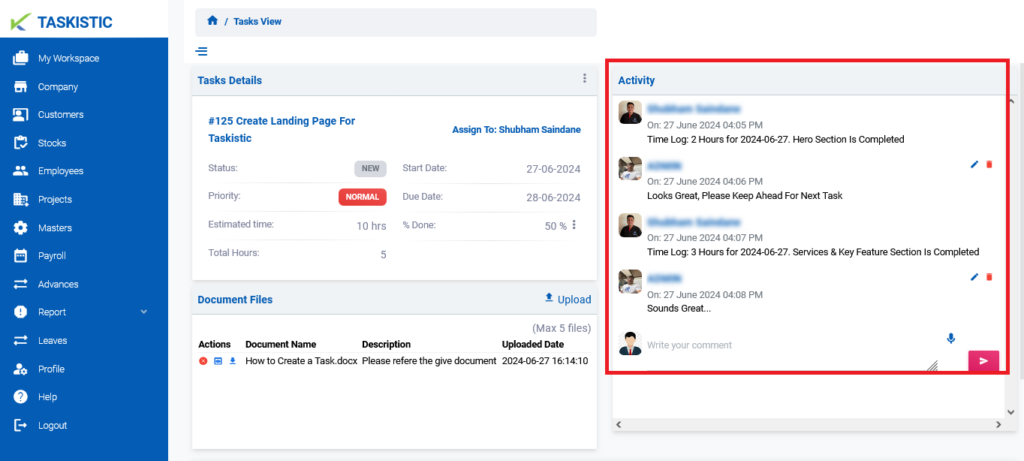
Section 3: Activity
In the “Activity” section, you can chat with your task team using text and voice messages.
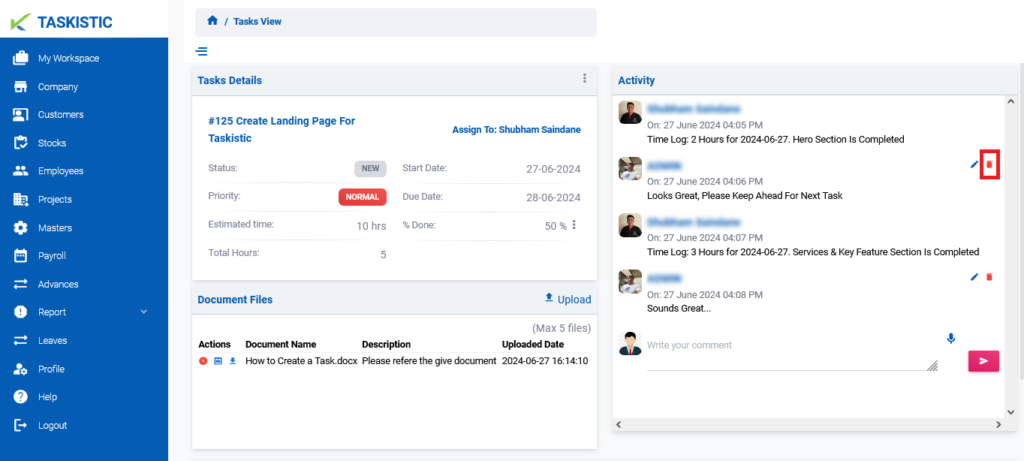
To edit a sent message, use the “Blue Pen Icon“.
To delete a sent message, use the “Red Bin Box“.
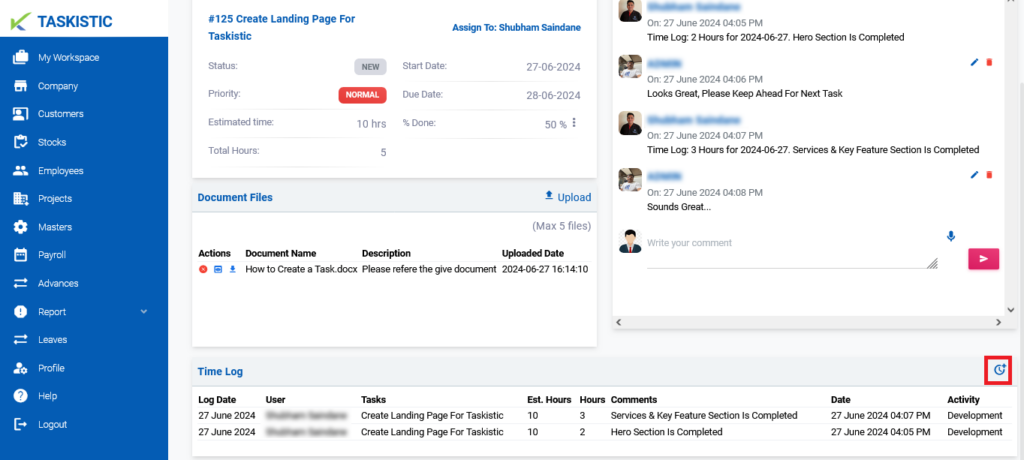
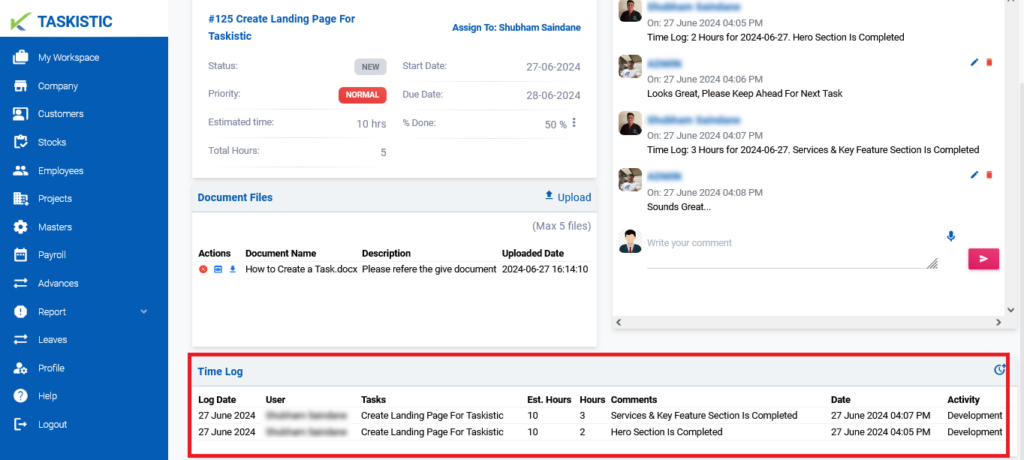
Section 4: Time Log
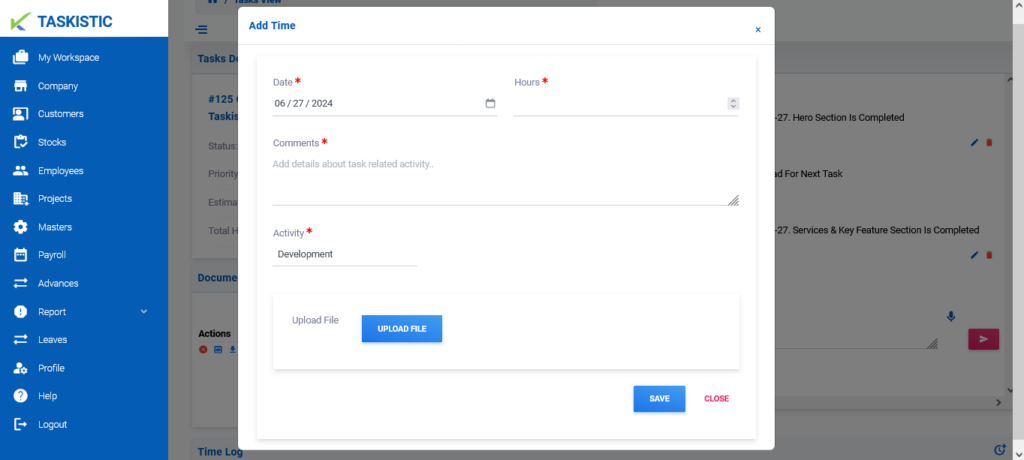
To add a time log update, use the “Blue Watch Icon” on the right side of the Time Log title.
Once you click on the “Watch” icon, an “Add Time” window will pop up.
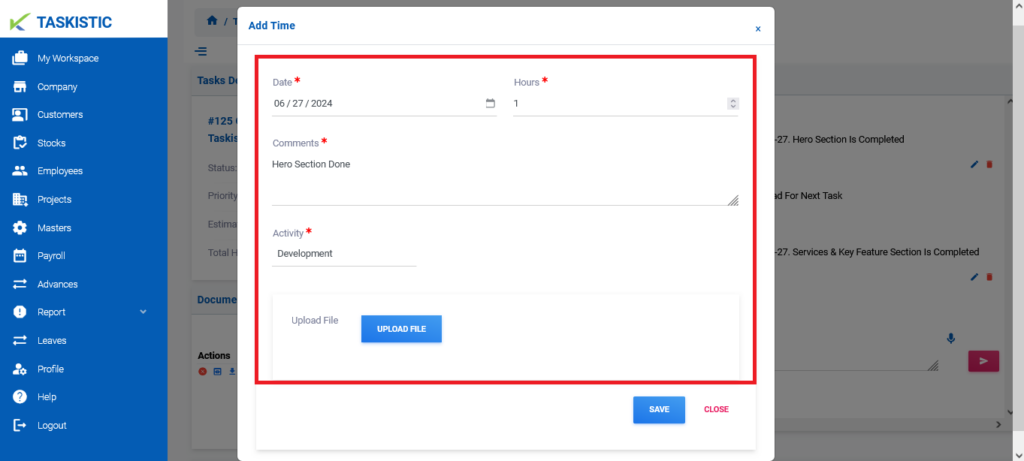
Fill in the details for adding task time:
– Select the date.
– Insert the hours.
– Write task comments.
– Select the activity, such as development, design, or testing.
– (Optional) Upload a file.
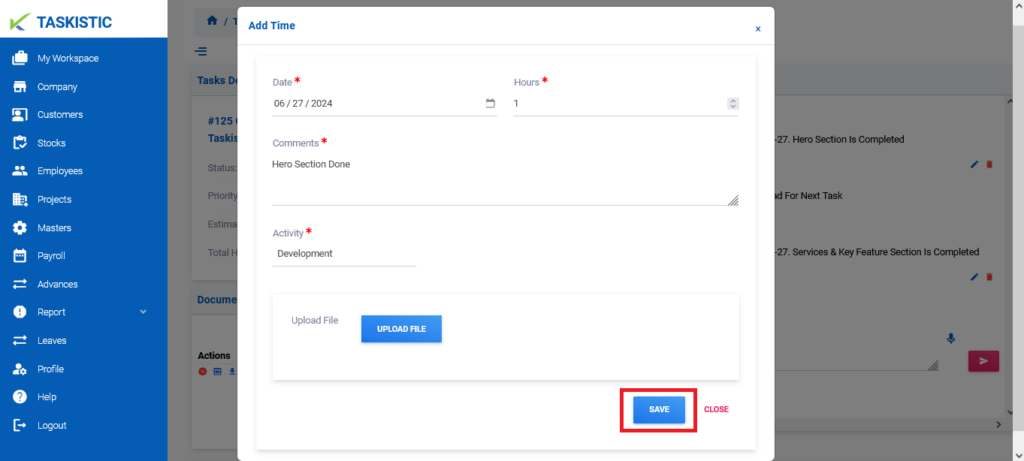
Click on the “Save” tab to update successfully.
You can also see the recent time log details.
Note: You cannot edit or delete the time log once it is saved.
By following these steps, you can efficiently update specific task details, activity, attached documents, and time logs on the Taskistic platform.