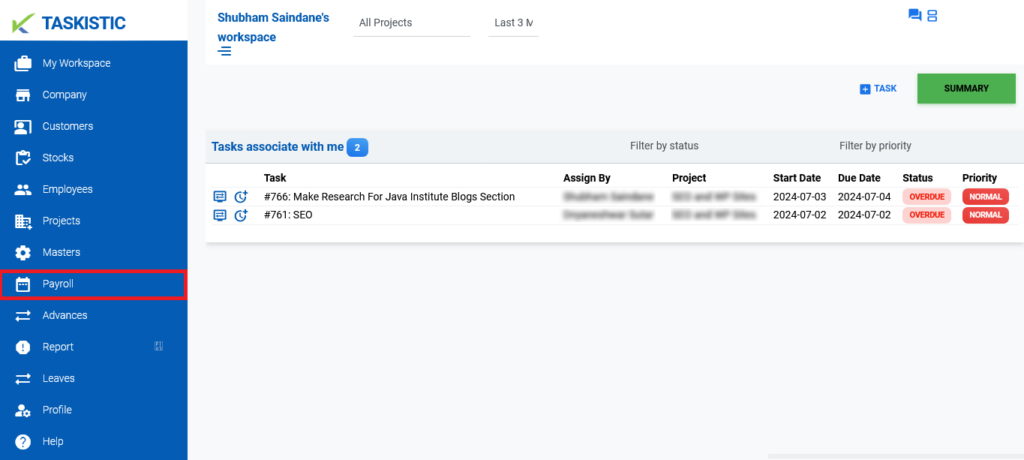
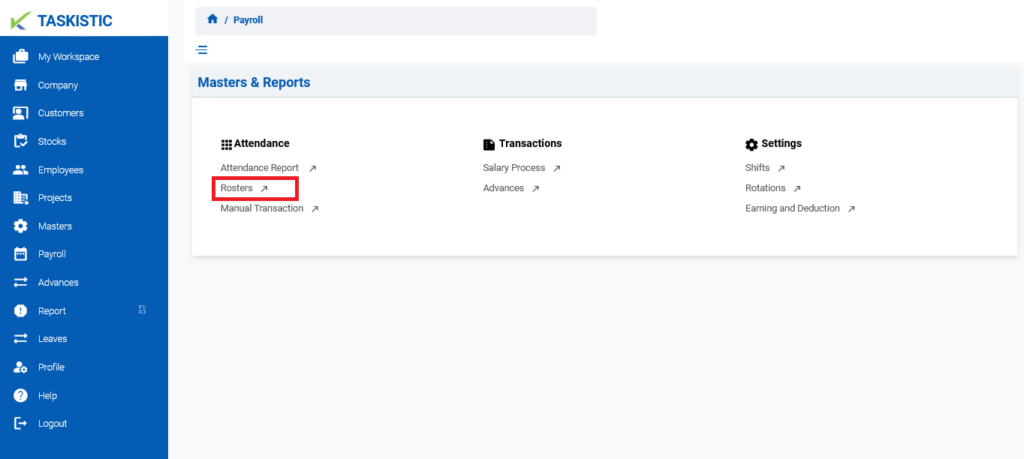
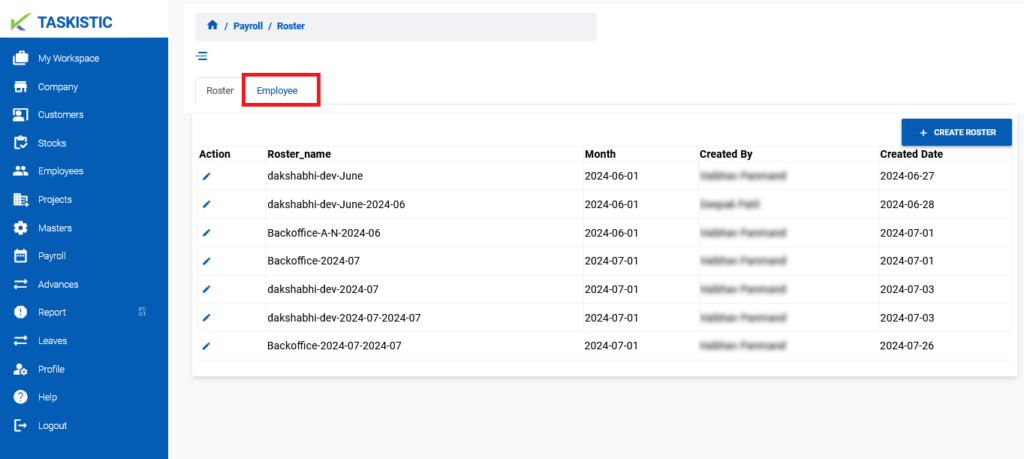
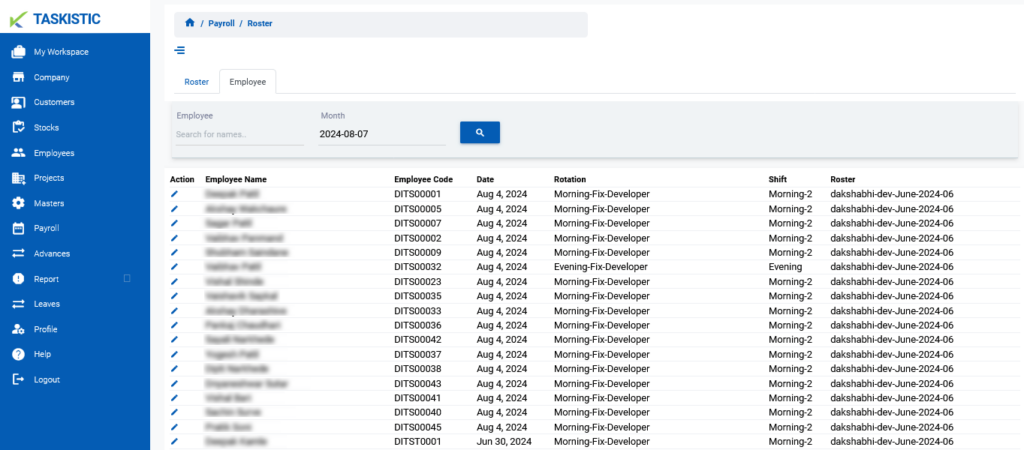
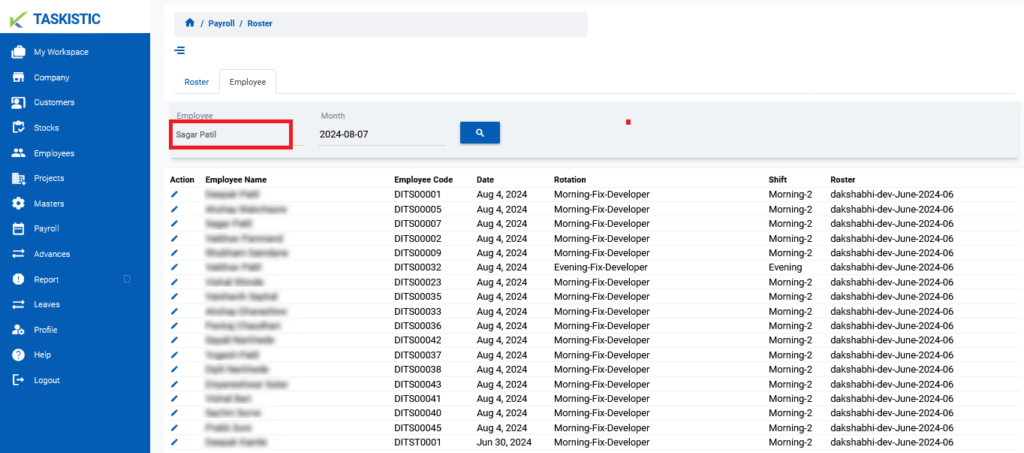
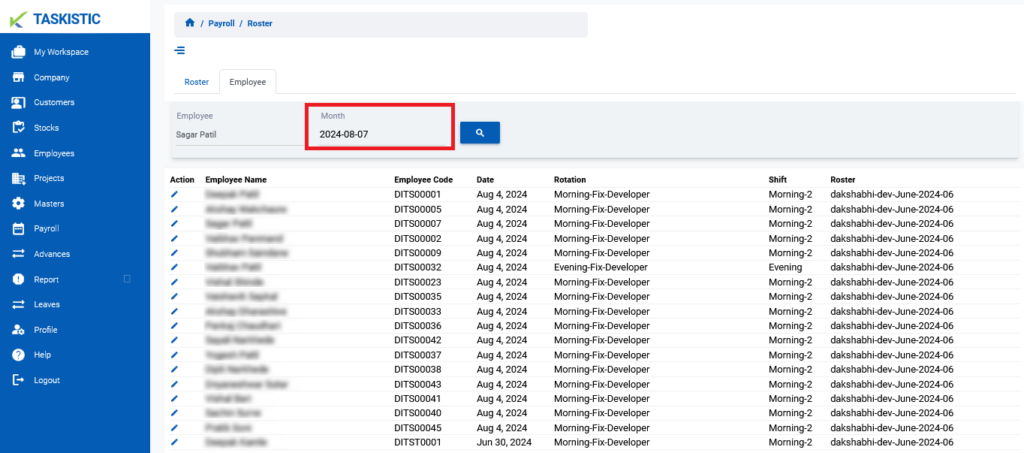
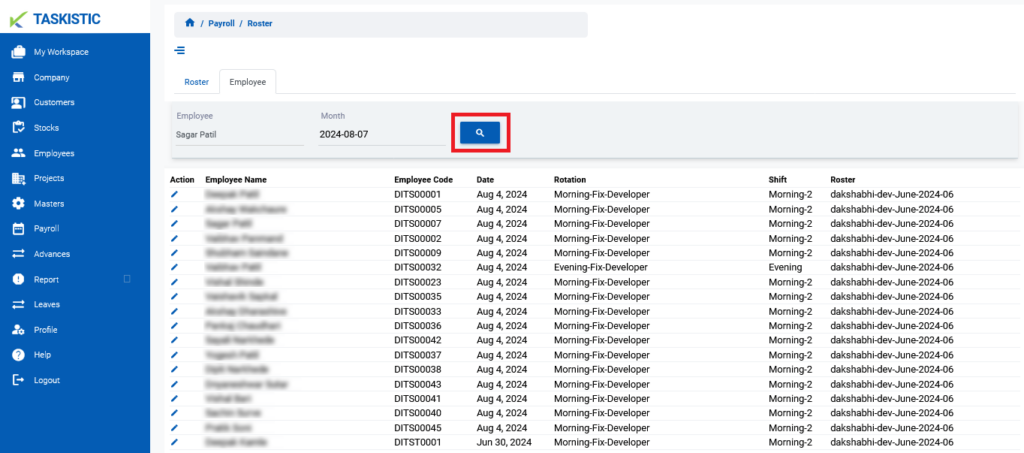
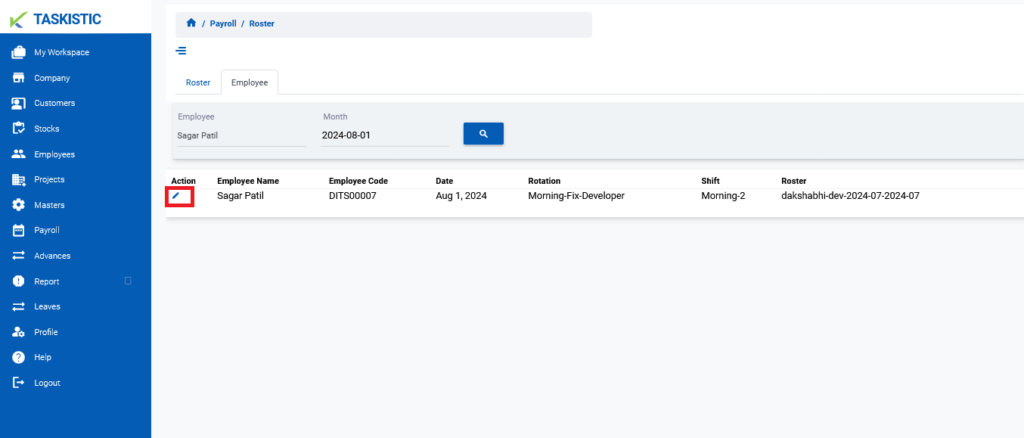
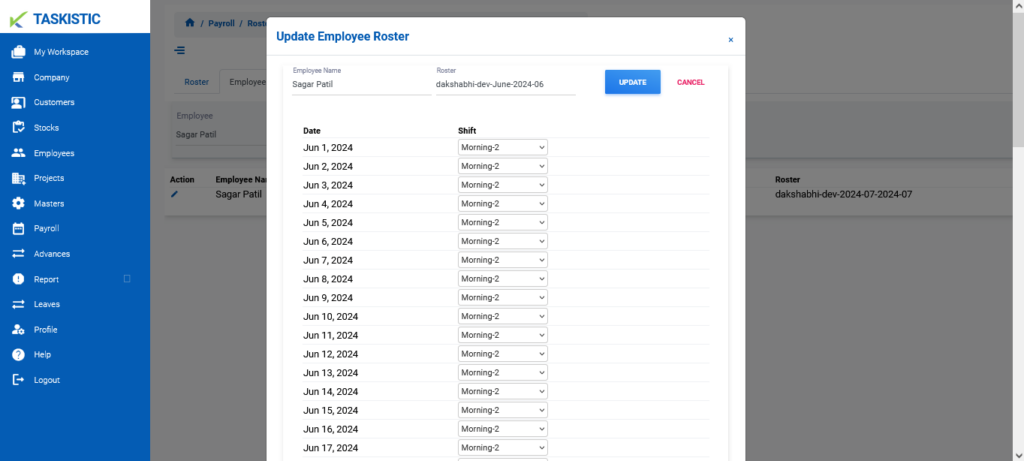
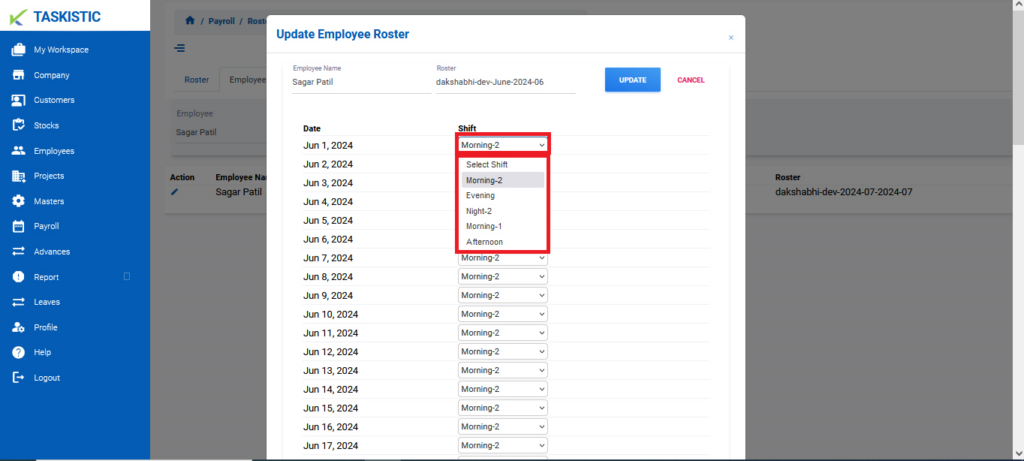
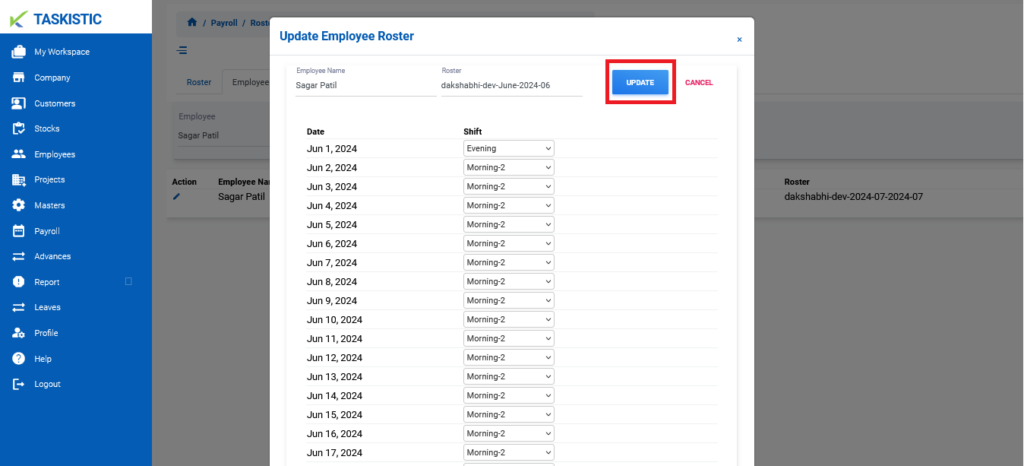
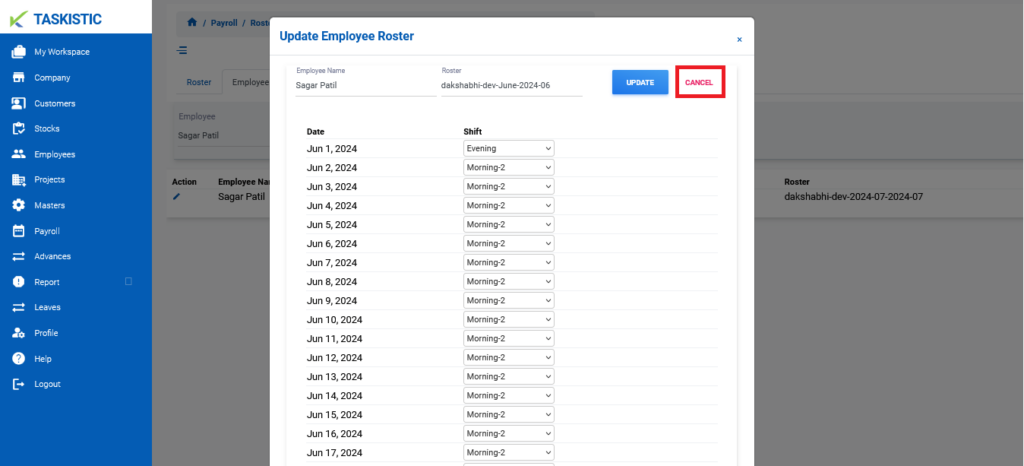
Table of Contents Step-By-Step Instructions Step 1: Visit the Taskistic Platform Step 2: Navigate to the Payroll Section Step 3: Access the Roster Dashboard Step 4: Access the Employee List Step 5: Search and Select Employee Step 6: Update Employee Roster Step 7: Make Changes to the Shift Step-By-Step Instructions This document provides step-by-step instructions for changing the customer view on the Taskistic platform. Step 1: Visit the Taskistic Platform Open your web browser.Visit the Taskistic platform by navigating to https://yourdomain.taskistic.com Step 2: Navigate to the Payroll Section Once you have logged in, look at the left sidebar of the Taskistic dashboard.In the left sidebar, click on the “Payroll” tab Step 3: Access the Roster Dashboard In the “Payroll Dashboard,” click on “Rosters.” 2. The “Rosters Dashboard” will appear. Step 4: Access the Employee List In the “Roster Dashboard,” click on the “Employee” tab. 2 .The Employee list will appear. Step 5: Search and Select Employee Search for the employee by name. 2. Select the date for which you want to update the shift. 3. Once you fill all required Field Click Search Button. And Employee Name Will Appear Step 6: Update Employee Roster Click the pen icon next to the employee’s name. 2. A popup window will appear. Step 7: Make Changes to the Shift In the popup window, update the shift details as required. 2. After making the necessary changes, click the “Update” button at the top of the popup window to save the changes. 3. If you want to cancel the changes, click the “Cancel” button at the top of the popup window.