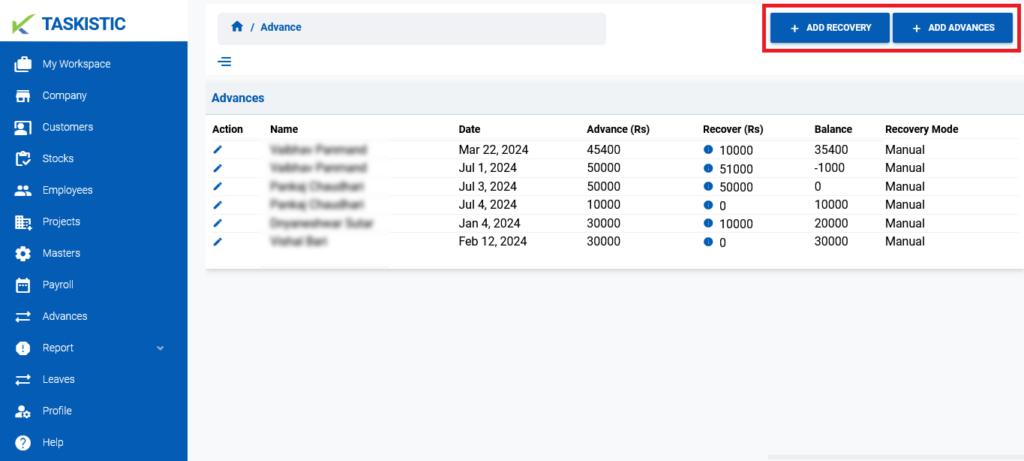
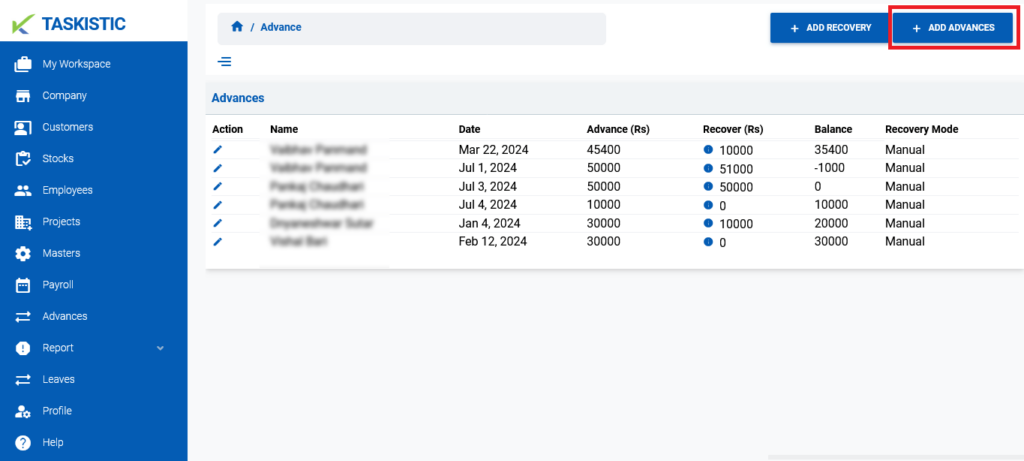
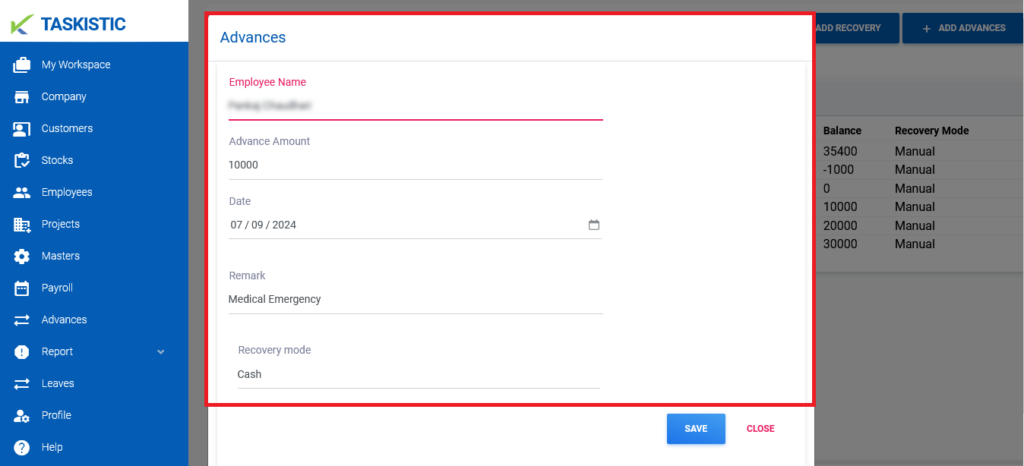
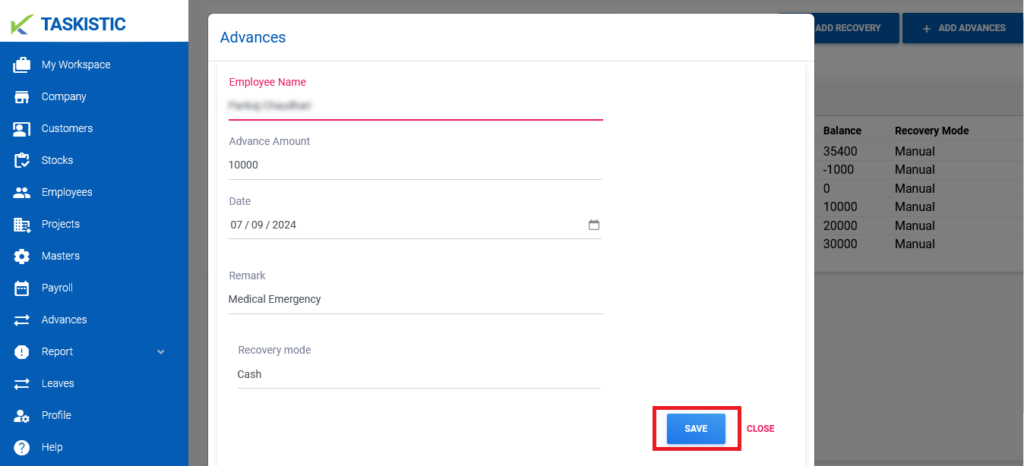
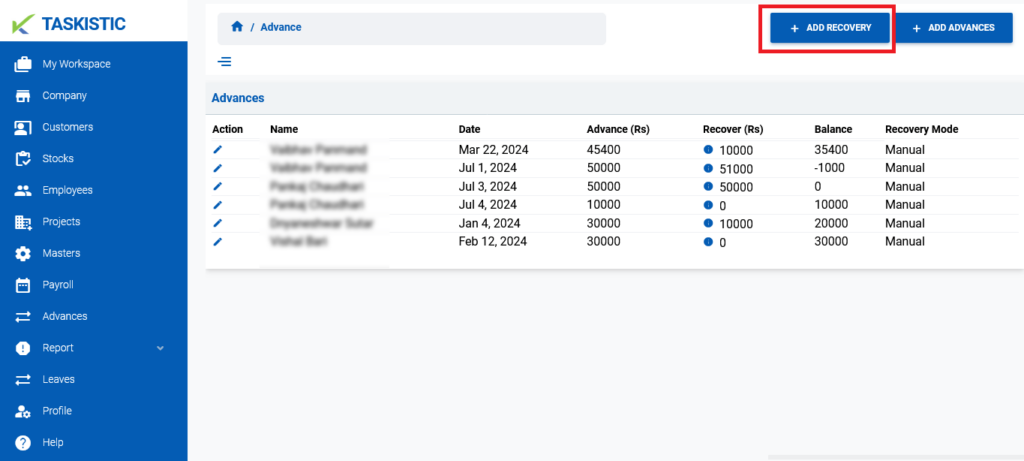
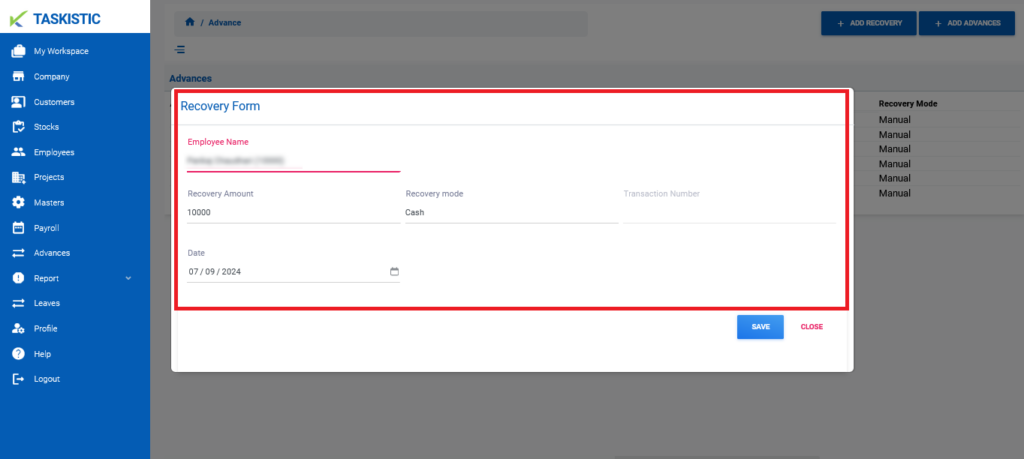
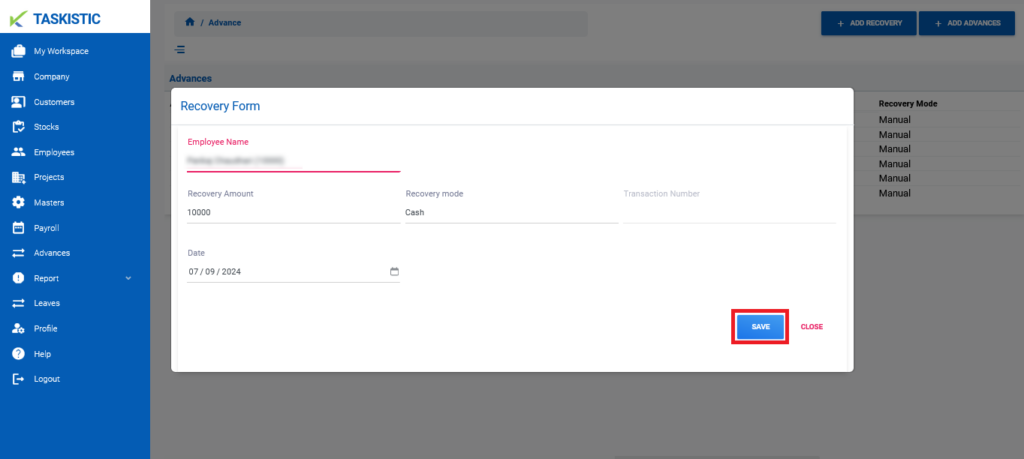
Table of Contents Step-By-Step Instructions Step 1: Access the Taskistic Platform Step 2: Navigate to the Advances Section Adding an Advance Sub Step 1: Add Advance 3. Final Step: Once the form is filled out accurately, click on the "Save" button. Adding a Recovery Sub Step 2: Add Recovery 3. Final Step: Once the form is filled out accurately, click on the "Save" button. Step-By-Step Instructions This document provides step-by-step instructions for adding advances and recoveries on the Taskistic platform. Step 1: Access the Taskistic Platform Open your web browser.Visit the Taskistic platform by navigating to https://yourdomain.taskistic.com Step 2: Navigate to the Advances Section In the left sidebar, go to the “Advances” tab. Once you click on the “Advances” tab, you will see the “Advances” dashboard.In the upper right corner, you will see two buttons: “Add Advance” and “Add Recovery.” Adding an Advance If you want to add an advance, follow the steps below: Sub Step 1: Add Advance Click on the “Add Advance” button. A new popup window with the advance form will appear. Fill out the form accurately; you cannot edit it once submitted. – Search for the employee’s name. – Insert the advance amount. – Select the date. – Write a remark. – Select the “Recovery mode” (e.g., Cash, Manual, Salary Deduction). 3. Final Step: Once the form is filled out accurately, click on the "Save" button. Adding a Recovery If you want to add a recovery, follow the steps below: Sub Step 2: Add Recovery Click on the “Add Recovery” button. A new popup window with the recovery form will appear. Fill out the form accurately. – Search for the employee’s name. – Insert the recovery amount. – Select the “Recovery mode” (e.g., Cash, UPI, Bank). – Insert the transaction number. – Select the recovery date. 3. Final Step: Once the form is filled out accurately, click on the "Save" button.