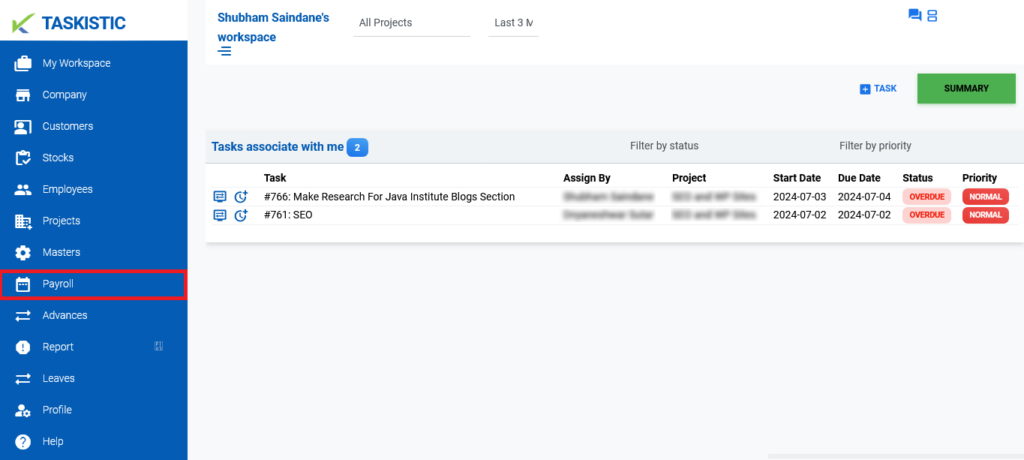
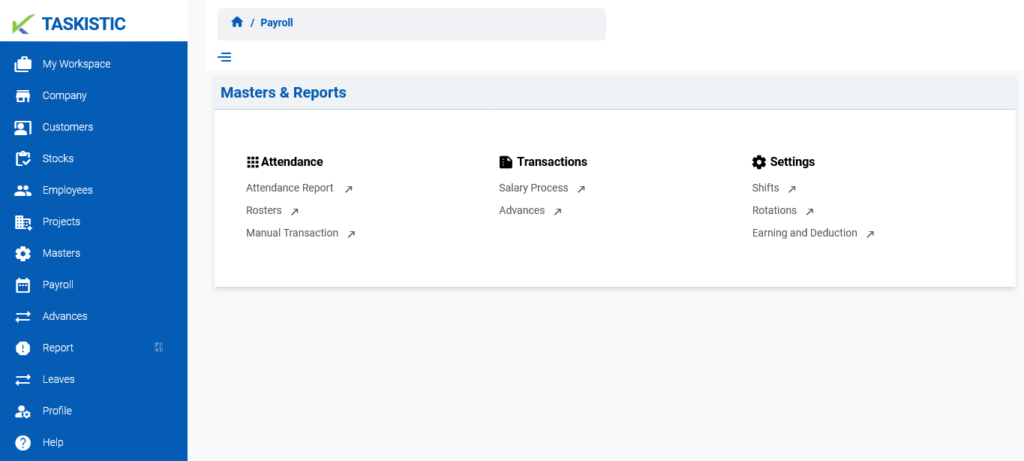
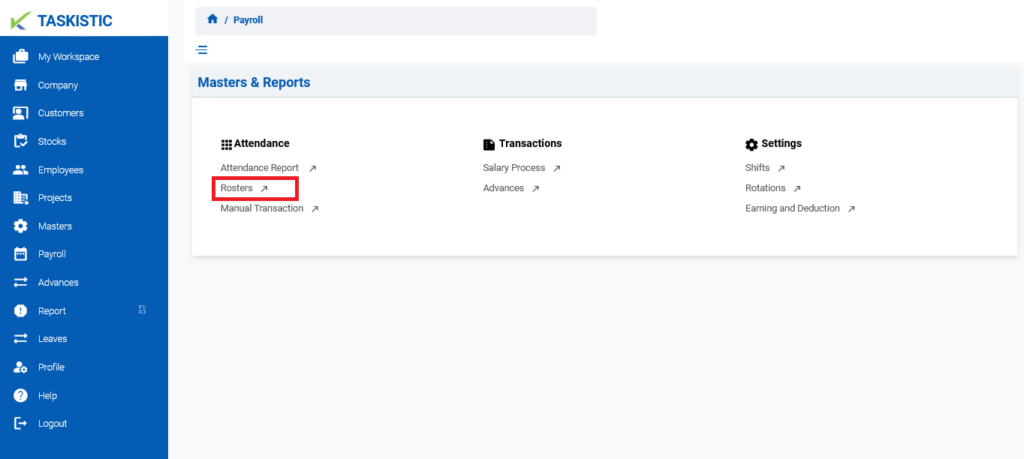
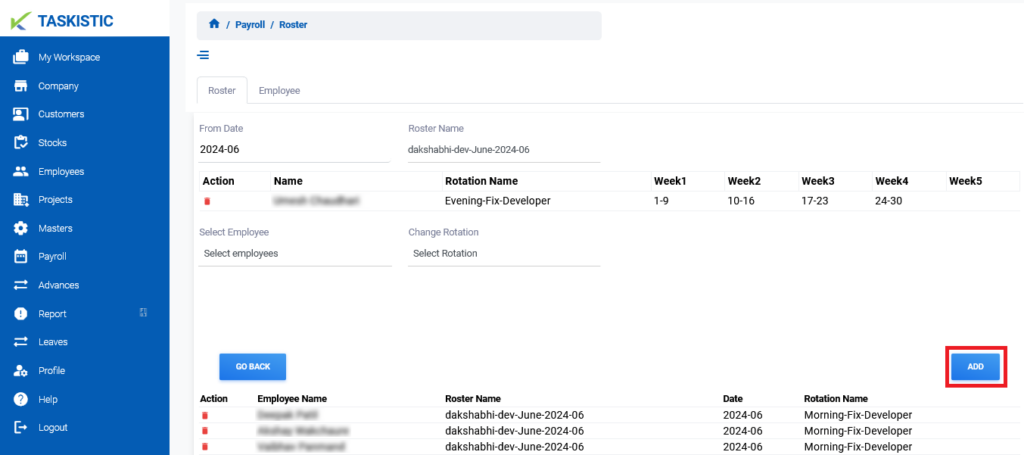
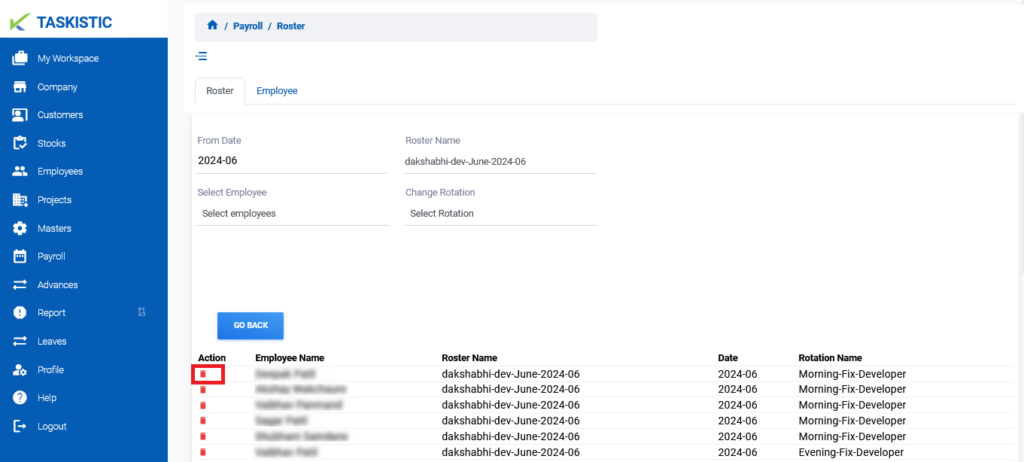
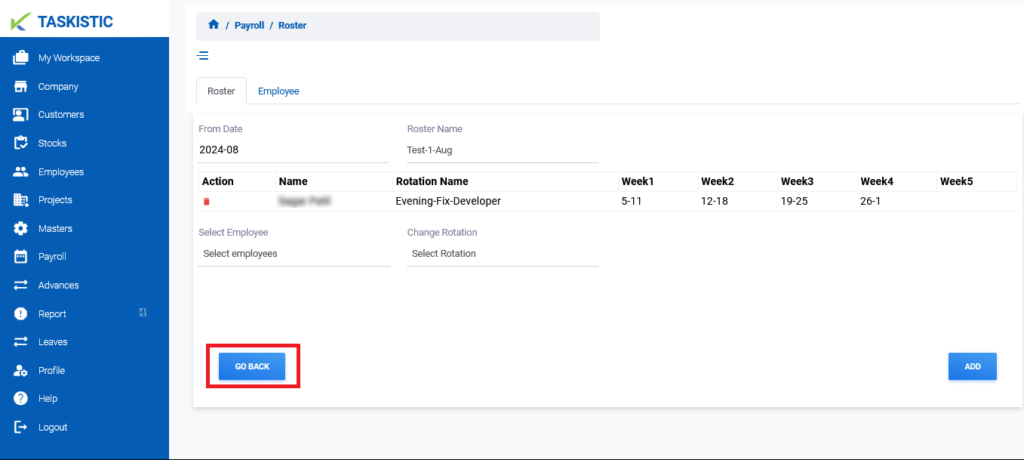
Table of Contents Step-By-Step Instructions Step 1: Visit the Taskistic Platform Step 2: Navigate to the Payroll Section Step 3: Access the Rosters Dashboard Step 4: Edit a Roster Step 5: Delete a Roster Step 6: Return to Rosters Dashboard Step-By-Step Instructions This document provides step-by-step instructions for changing the customer view on the Taskistic platform. Step 1: Visit the Taskistic Platform Open your web browser.Visit the Taskistic platform by navigating to https://yourdomain.taskistic.com Step 2: Navigate to the Payroll Section Once you have logged in, look at the left sidebar of the Taskistic dashboard.Click on the “Customer” tab to access the customer management section. 3. The “Payroll Dashboard” will appear. Step 3: Access the Rosters Dashboard In the “Payroll Dashboard,” click on “Rosters.” 2. The “Rosters Dashboard” will appear. Step 4: Edit a Roster In the “Rosters Dashboard,” click on the “Pen Icon” tab next to the Roster Name. 2. A form will appear.3. Make the required changes.4. Click the “Add” button to save the changes. Step 5: Delete a Roster In the “Rosters Dashboard,” click on the “Pen Icon” tab next to the roster name. 2. The roster details will appear.3. Click the “Red Box” icon next to the employee name.4. Confirm the deletion when prompted. Step 6: Return to Rosters Dashboard Click the “Go Back” button to return to the “Rosters Dashboard.”