Table of Contents
- Step-By-Step Instructions
- Step 1: Access the Taskistic Platform
- Step 2: Navigate to the Advances Section
- Adding an Advance
- Sub Step 1: Add Advance
- 3. Final Step: Once the form is filled out accurately, click on the "Save" button.
- Adding a Recovery
- Sub Step 2: Add Recovery
- 3. Final Step: Once the form is filled out accurately, click on the "Save" button.
Step-By-Step Instructions
This document provides step-by-step instructions for adding advances and recoveries on the Taskistic platform.
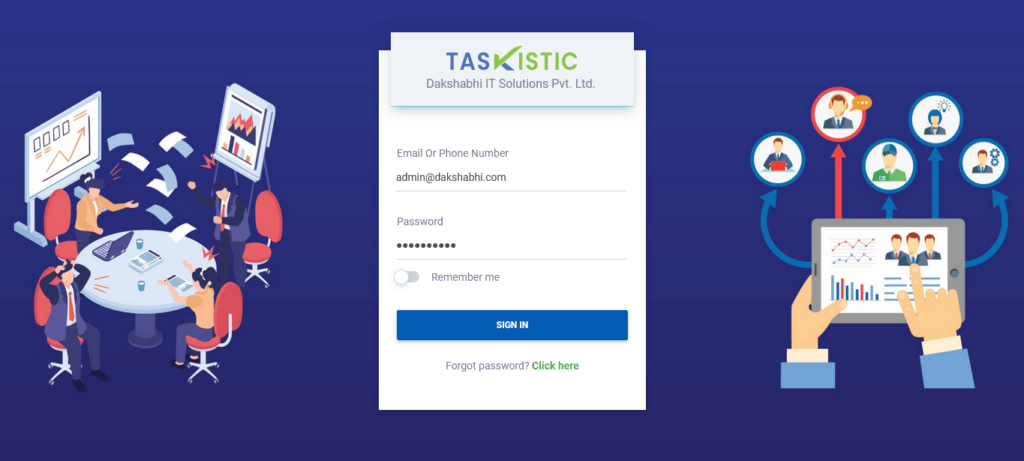
Step 1: Access the Taskistic Platform
- Open your web browser.
- Visit the Taskistic platform by navigating to https://yourdomain.taskistic.com
Step 2: Navigate to the Advances Section
- In the left sidebar, go to the “Advances” tab.
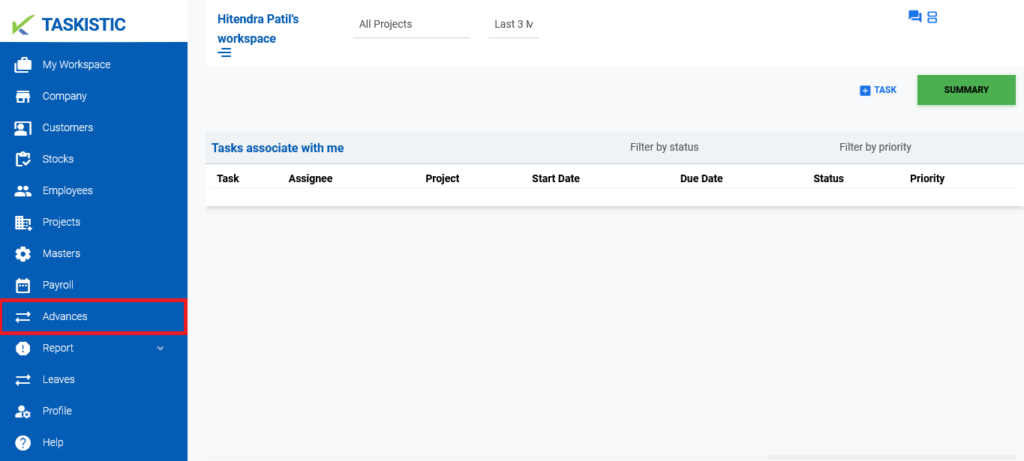
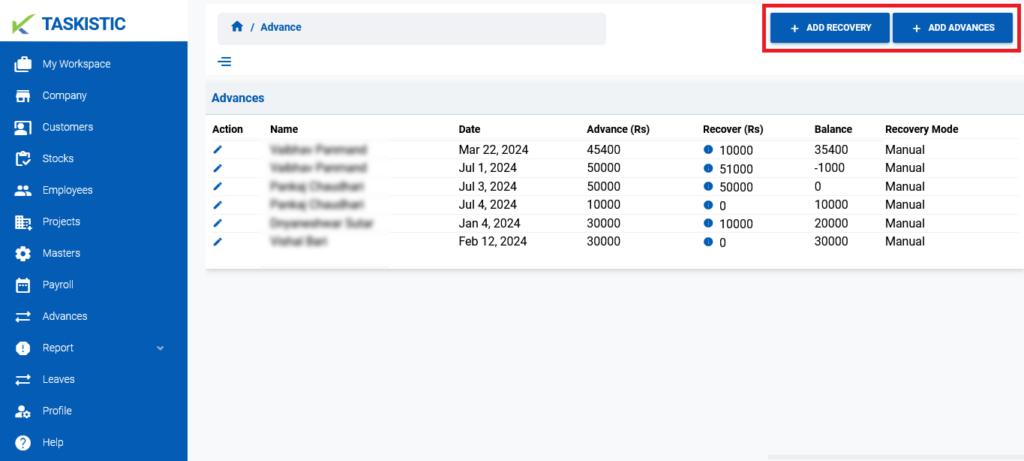
- Once you click on the “Advances” tab, you will see the “Advances” dashboard.
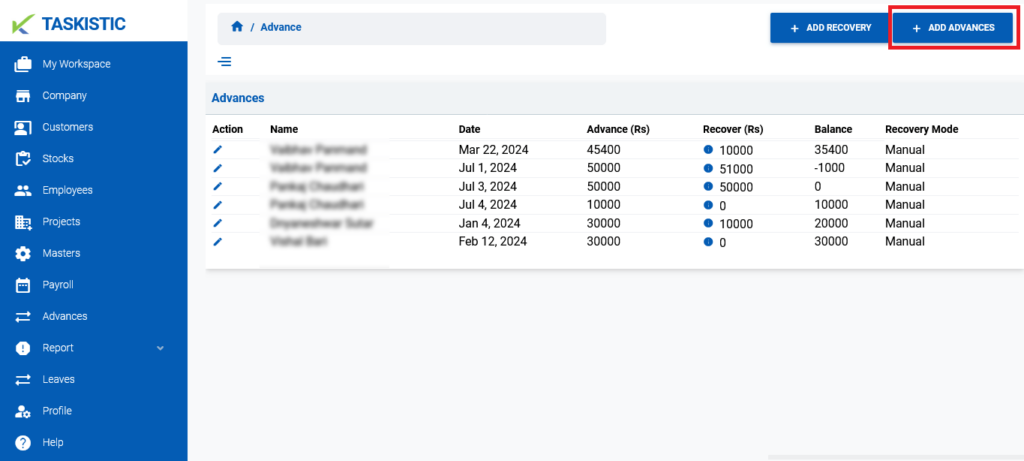
- In the upper right corner, you will see two buttons: “Add Advance” and “Add Recovery.”
Adding an Advance
If you want to add an advance, follow the steps below:
Sub Step 1: Add Advance
- Click on the “Add Advance” button. A new popup window with the advance form will appear.
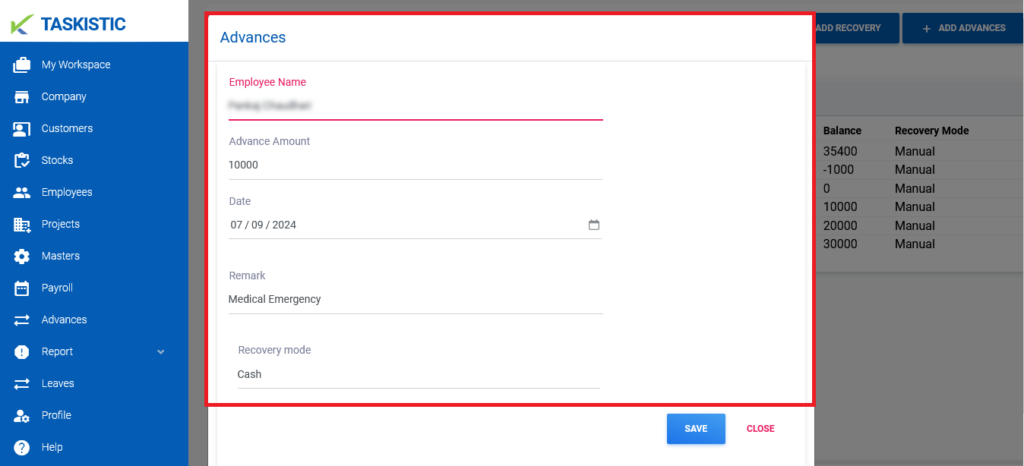
- Fill out the form accurately; you cannot edit it once submitted.
– Search for the employee’s name.
– Insert the advance amount.
– Select the date.
– Write a remark.
– Select the “Recovery mode” (e.g., Cash, Manual, Salary Deduction).
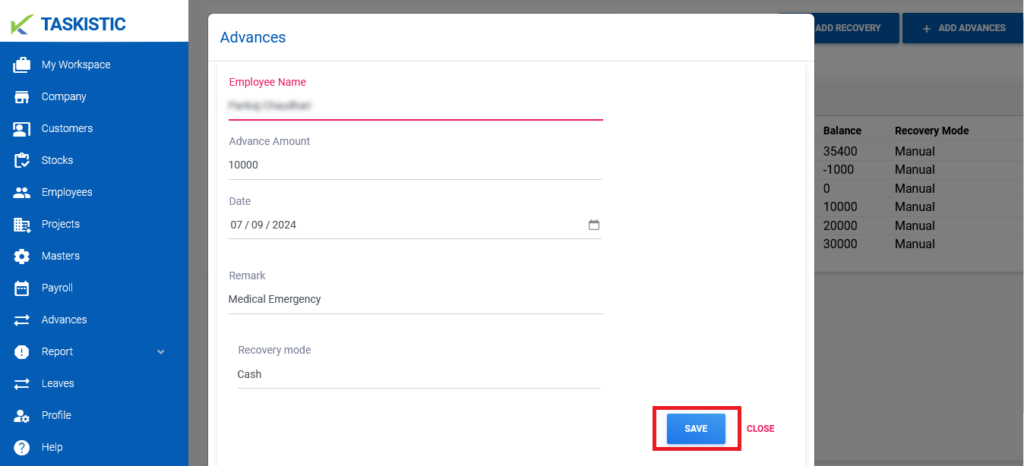
3. Final Step: Once the form is filled out accurately, click on the "Save" button.
Adding a Recovery
If you want to add a recovery, follow the steps below:
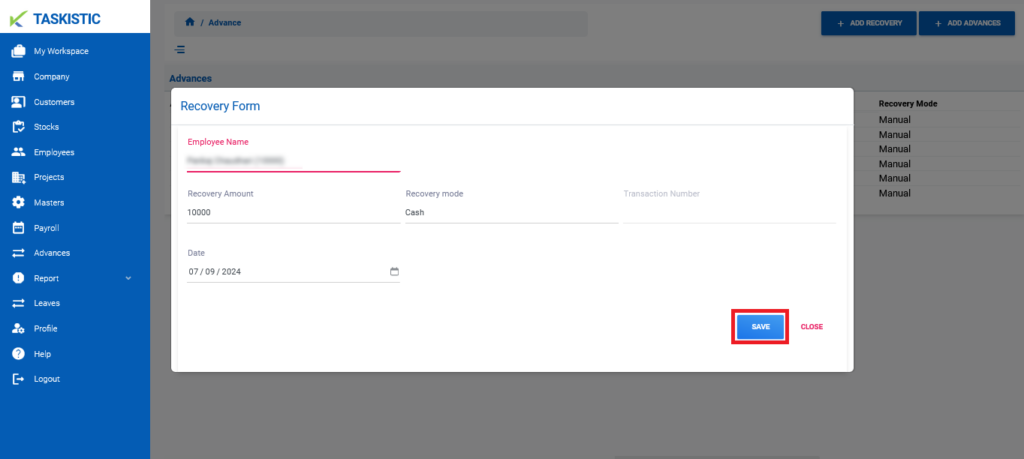
Sub Step 2: Add Recovery
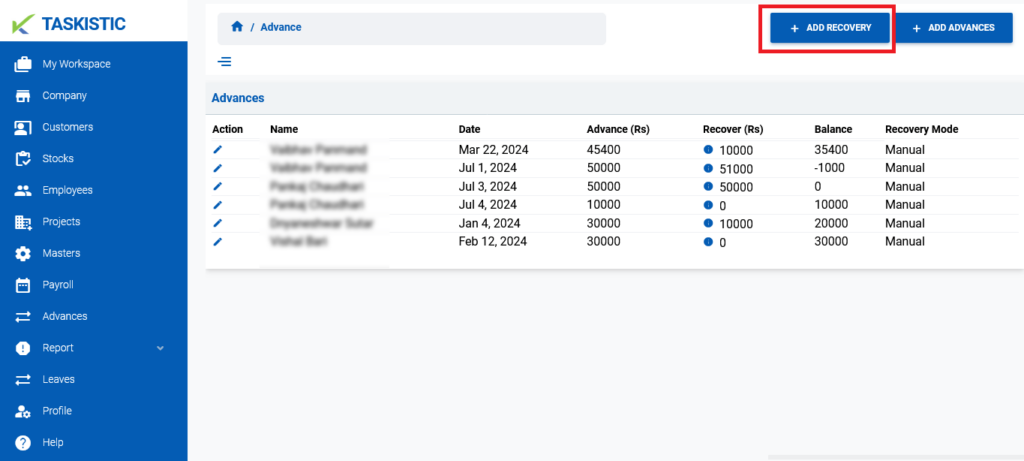
- Click on the “Add Recovery” button. A new popup window with the recovery form will appear.
- Fill out the form accurately.
– Search for the employee’s name.
– Insert the recovery amount.
– Select the “Recovery mode” (e.g., Cash, UPI, Bank).
– Insert the transaction number.
– Select the recovery date.
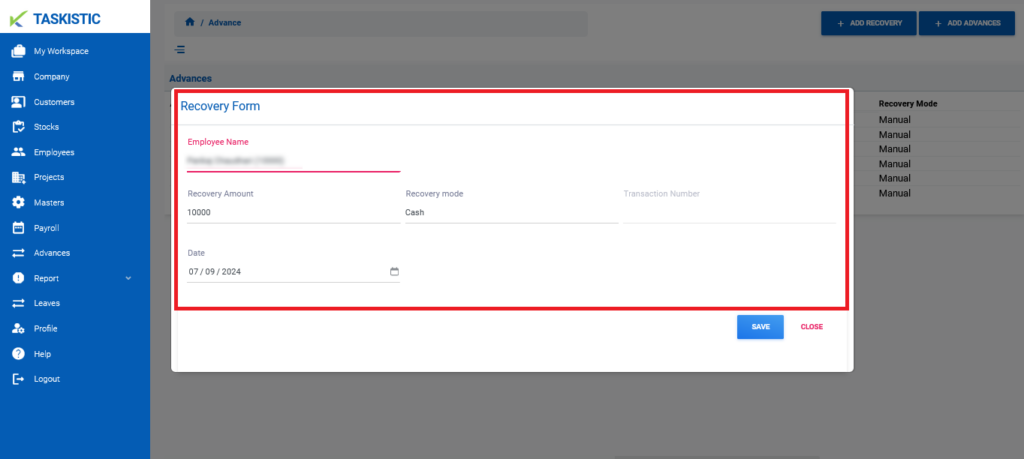
3. Final Step: Once the form is filled out accurately, click on the "Save" button.
