This document provides step-by-step instructions for submitting a Add New Customer request using the Taskistic platform.
Step 1: Access the Taskistic Platform
- Open your web browser.
- Visit the Taskistic platform by navigating to https://yourdomain.taskistic.com

Step 2: Navigate to the Customer Section
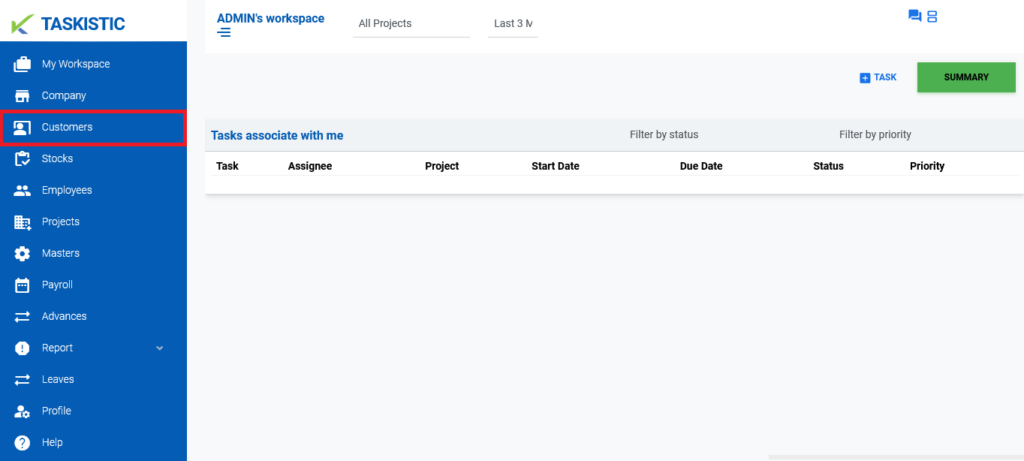
- Once you have logged in, look at the left sidebar of the Taskistic dashboard.
- Click on the “Customer” tab to access the customer management section.
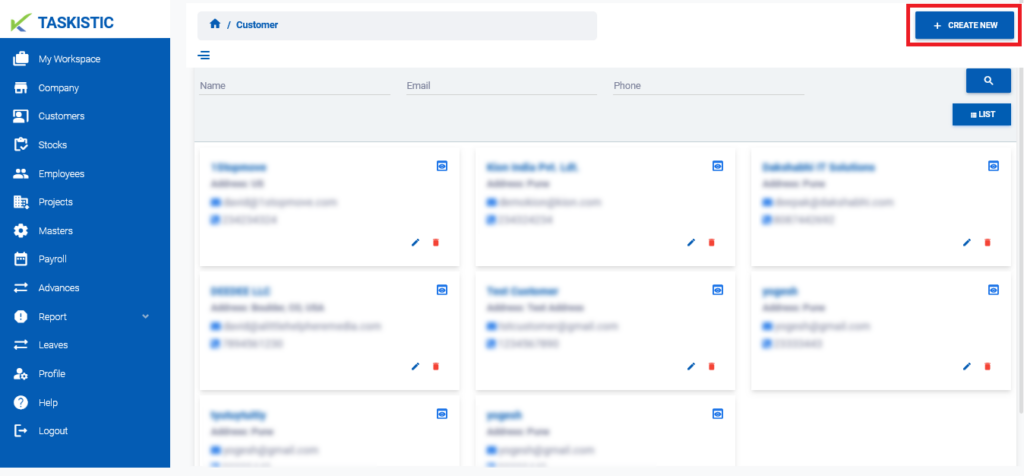
Step 3: Initiate a Create New
- In the upper right corner of the “Customer” section, locate and click on the “Create New” button.
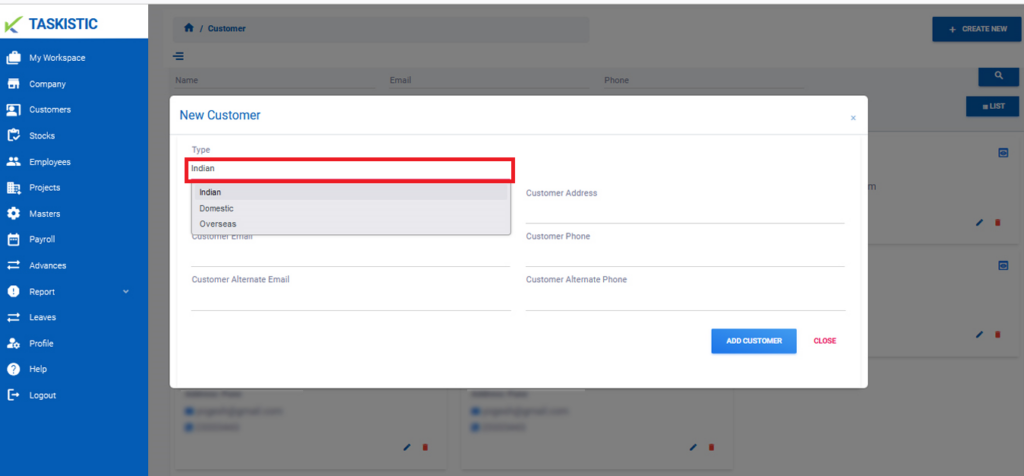
Step 4: Choose Customer Type
- A form will appear. The first field will require you to select the type of Customer you are requesting (e.g., Indian, Domestic, Overseas, etc.).
- Click on the dropdown menu and select the appropriate Customer type.
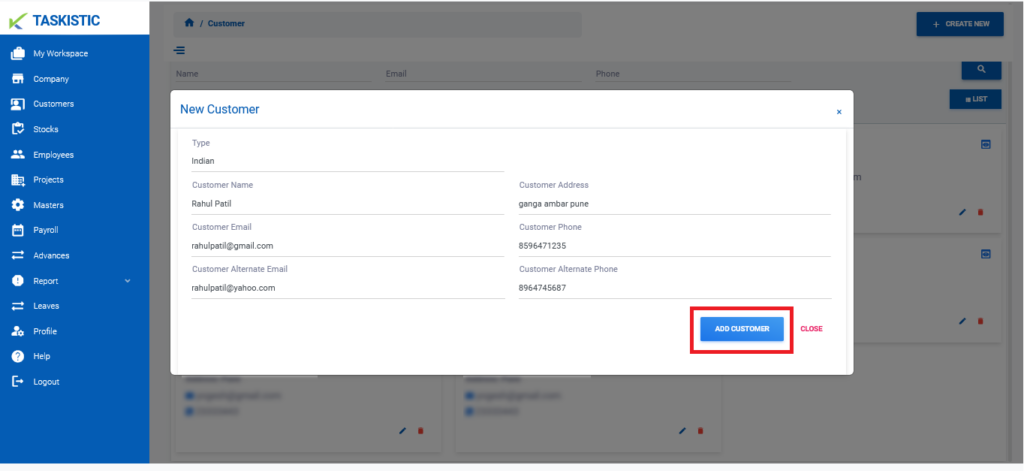
Step 5: Customer information
Next, you need to assign your Customer information.
(Insert Customer Name, Insert Customer Address, Insert Customer Email, Insert Customer Alternate Email, Insert Customer Phone, Insert Customer Alternate Phone)
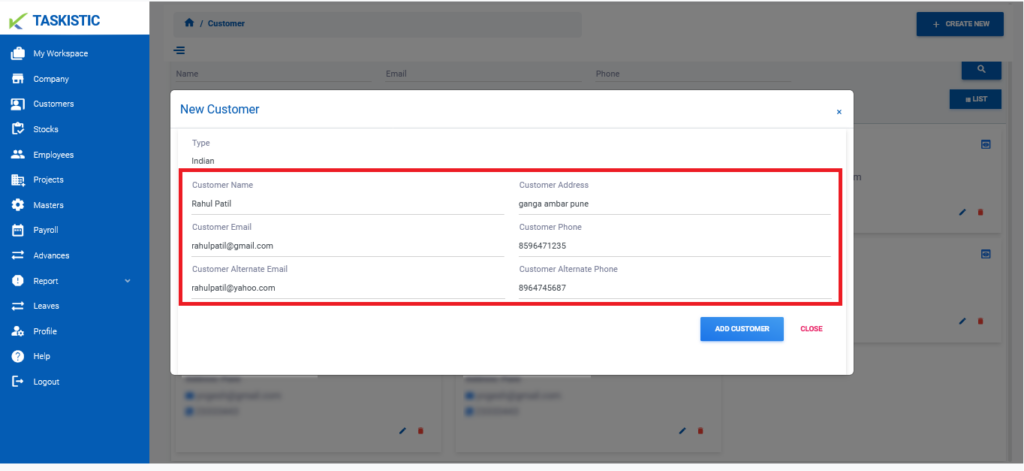
Step 6: Add customer
Once all the necessary fields are filled out, click on the “Add customer ” button at the bottom of the form to submit your New Customer